How to Convert Reels to MP3 Without Wrecking the Sound
Nothing exposes a bad downloader faster than playing your newly saved MP3 on decent headphones.
On Instagram, the Reel sounds punchy. On your phone, the “converted” MP3 sounds like it travelled through three WhatsApp forwards and a Nokia.
You did everything they said: copy link, paste into a “FREE REELS TO MP3” site, wait for it to say “done,” hit download. The problem isn’t that it doesn’t work. It’s that it works badly.reelsave+5
This site sits in the download niche meaning we actually care what happens to your audio once it leaves Instagram. You don’t just want “some” MP3; you want something your editor, your ears, and your future self won’t hate. So let’s talk about how to convert Instagram Reels to MP3 without losing sound quality, what kills quality in the first place, and how to build a small, sane workflow instead of gambling on whatever tool Google throws at you today.
THE THING NOBODY ACTUALLY SAYS OUT LOUD
Nobody tells you this because it kills the “one‑click magic” fantasy: by the time you’re converting a Reel to MP3, your audio has already been compressed at least once.
Instagram has its own audio and video compression pipeline. When creators upload music or original audio, it’s encoded and optimized for mobile streaming, not studio listening. So the Reel you hear in‑app is not lossless to begin with.reddit+2
Then you add a converter. Many of them:
- Pull that already‑compressed stream.
- Re‑encode it again into MP3.
- Use a low bitrate (like 64–96 kbps) to save their own bandwidth.fastvideosave+4
And then everyone acts surprised when the final file sounds smaller, duller, or just quieter than the original.
Most “tutorial” posts say “paste link here, download MP3” and skip the part where:
- Some tools explicitly promise high‑quality audio and mention 320 kbps or “no quality loss” in their copy.indownloader+4
- Others say nothing because they’re absolutely cutting corners.
- You don’t know which you’re using until your ears complain.
On top of that, Instagram itself has started letting people download public Reels directly from the app but those downloads are video files with watermark, username, and usage limits, not clean MP3s. You still have to extract audio, and whatever editor you use can either preserve what’s left or step on it again.timesofindia.indiatimesyoutubetechcrunch+1youtube
The part nobody says out loud because it sounds too technical: “no quality loss” is marketing. What you’re actually aiming for is no extra unnecessary loss on top of Instagram’s compression.
Or in normal language: don’t let your audio get kicked while it’s already down.
So if you care about sound for editing, ringtones, or just not killing your vibe you need to control three things:
- Where the audio comes from (Reel vs audio page).
- How the tool converts it (bitrate, double encoding).
- What you do with that MP3 after you download it.
Everything else is just UI.
HOW THIS ACTUALLY WORKS THE REAL MECHANICS
Underneath the branding, every “Reels to MP3 without quality loss” method is the same core process:
- Take a public Instagram URL (Reel, video, audio page).
- Fetch the media file from Instagram’s servers.
- Extract the audio track and encode it as MP3, ideally at a decent bitrate.
Good converters are very open about this:
- ReelSave’s audio page literally walks you through: open Reel → copy link → paste on reelsave.app/audio → click download audio.instagram+3
- FastVideoSave’s audio tool spells out: copy link → paste → click “Download” to convert Reels, IGTV, videos to MP3.fastvideosave
- INDownloader shouts “convert Instagram to MP3 at 320kbps” that’s them telling you they aim for higher bitrate output.indownloader
- AudioDropper claims “download high-quality Instagram audio… without losing quality” and again uses the copy‑paste‑download pattern.audiodropper
- InstaSaver‑style audio pages: paste any reel/video/story link, auto‑extract and convert to MP3 in high quality.youaudiodown+1
The steps are basic:
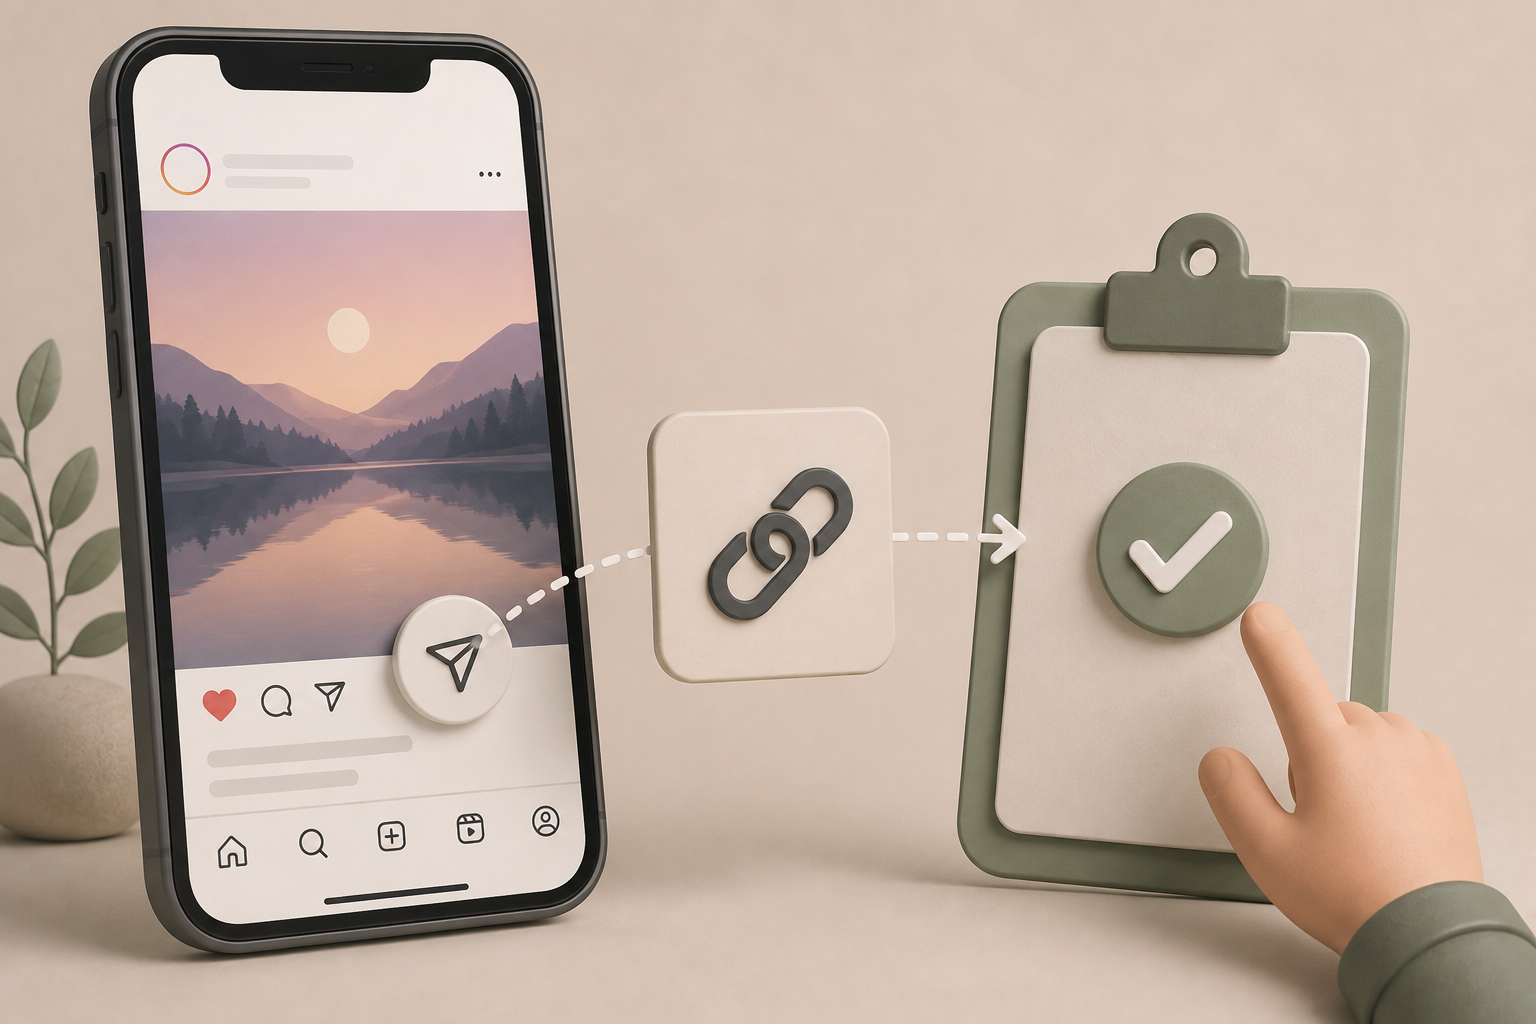
- In Instagram: open the Reel → tap the three dots → Copy Link.speechify+4
- In your browser: open a high‑quality‑focused audio downloader.
- Paste the link into the box → tap Download/Convert → then tap “Download audio/MP3” once it’s processed.instasaver+7
The niche angle most articles ignore: not all sources are equal, and not all destinations are equal.
Things that affect perceived quality:
- Source: Reels using clean audio vs ones already full of background noise, talking, or weird mixing.
- Stream type: Some tools grab the best available audio stream; some accidentally pull lower‑quality versions.toolzin+4
- Bitrate: Tools like INDownloader advertise up to 320 kbps MP3. Others say nothing. No mention usually means “whatever is cheapest for us.”indownloader
- Extra encoding: Converters that re‑encode everything again vs those that more or less wrap the existing audio into MP3 properly.
Quick list with opinions:
- ReelSave‑style audio tools: great for simple use, often fast, but you want to test one file against another tool to hear their default quality.instagram+3
- FastVideoSave / InstaSaver / YouAudioDown types: clearly built for audio extraction, with copy‑paste‑download instructions and “high quality” claims a good sign.audiodropper+4
- INDownloader: calling out 320 kbps explicitly is rare; that’s a strong hint they actually care about bitrate.indownloader
And if you’re extra fussy or doing serious edits, you can skip direct MP3 conversion and:
- Download the Reel video in the highest quality you can.
- Import into a proper editor like Descript or your NLE.
- Export just the audio at the bitrate and format you want.youtube+1descript+1
That’s more work, but you’re in control instead of trusting some mystery script.
Once you understand: “Instagram compresses once, converters compress again, editors can compress a third time,” it becomes obvious where you need to stop that chain.
COMPARISON WHAT'S ACTUALLY DIFFERENT BETWEEN YOUR OPTIONS
Ways to Convert Reels to MP3 Without Killing Quality
| Option / Method | What it actually does | Who it's for | The catch |
| High‑quality IG audio downloaders (INDownloader, InstaSaver, AudioDropper‑type)fastvideosave+5 | Pulls audio from public Reels/videos, encodes as MP3 at higher bitrate (often 192–320 kbps) | People who want fast, good‑enough MP3 from browser | Still web‑based, some ads, quality depends on their implementation |
| Simple Reels audio tools (ReelSave, FastVideoSave‑style)fastvideosave+4 | Focus on quick copy‑paste‑download from Reels/audio pages | Most users on phone needing speed and simplicity | Need to test if their default output is loud/clean enough |
| Download Reel video + export audio in editoryoutube+1speechify+1 | Gets best version of the Reel, then lets you export audio at your chosen quality | Editors on PC/Mac, perfectionists, long‑term projects | Two‑step and slower, needs basic editing skills and more storage |
If you care about not losing more quality than necessary but also don’t want a 10‑step ritual, a high‑quality browser‑based downloader (the INDownloader / InstaSaver / AudioDropper category) is the sweet spot.youaudiodown+5
If you’re doing serious work YouTube videos, client edits, anything that will live for a while grab the best source you can and finalize audio in your editor. That’s where you can control levels, EQ, and export format properly.youtubedescriptyoutubespeechify
WHAT ACTUALLY HAPPENS WHEN YOU TRY THIS
Here’s what it looks like when you’re actually doing this at midnight, not writing about it.
You’re in Reels. Some sound hits you right in the brain. You tap the audio name, see the sound page, maybe save it inside Instagram like they trained you to do. Then later, you sit down to edit. You open CapCut, VN, Premiere, whatever. And you realise that sound is only in your “Saved audio” tab on Instagram, not in any folder your editor can see.youtube
So you do the copy‑paste dance:
- Open the Reel again.
- Tap the three dots → Copy Link.reelsave+4
- Open Chrome/Safari, search “instagram reels to mp3 high quality.”
You click a site that says “Instagram Audio Downloader Convert Reels to MP3.” Good sign. You paste the link, hit Download. It thinks for three seconds, then gives you “Download audio.”reelsaveapp+6
You tap. File lands in your downloads. You hit play.
On a decent tool, the audio sounds basically like it did in the Reel same punch, roughly same loudness, no extra weird artifacts. On a bad one, it feels like someone put a thin blanket over your speakers. You might not notice on your phone’s tiny loudspeaker, but you absolutely notice in headphones or in your timeline next to other tracks.instasaver+5
A pattern you start seeing once you’ve done this for more than “one sound, one time”:
- The fastest converter isn’t always the best. Some that take an extra second clearly process audio differently and sound better.toolzin+4
- Tools that brag about 320 kbps (like INDownloader) or “without losing quality” (AudioDropper‑type) often do sound closer to the original stream.audiodropper+2
- Some sites default to playing the audio in a browser player first; you have to tap a second option to actually download it.
When you move to desktop, it’s even more obvious:
- You drop two different MP3s (from two tools) into your editor.
- One has a fuller waveform; the other looks like a sad little line.
- That’s the difference between a decent bitrate and something your converter petty‑compressed.
What surprised me the first time I compared files: how huge the difference is between tools you’d assume are doing the same thing. Same Reel link, same moment, different sites one file felt usable in a real project, the other felt like temp audio you’d only use in a rough cut.
Another pattern other guides miss: even if the MP3 is good, your next step can ruin it. Exporting again at a low bitrate from your editor, stacking compression, or normalizing wrong will make you blame the converter when the real crime happened in your timeline.facebook+1youtube+1reddit+1
When you’ve actually lived this a few times, your behaviour changes. You stop trying a new converter every week. You pick one or two that prove they don’t mess with your sound and build them into your workflow like any other tool.
THE ADVICE EVERYONE GIVES VS WHAT ACTUALLY WORKS
Let’s pick apart the usual tips and match them with the reality.
1. “Just use any free Reels to MP3 site, they all work.”
They all work in the sense that they all spit out something.
But:
-
Some use a higher bitrate and preserve more detail.youaudiodown+4
-
Some cut volume, mess with stereo image, or add extra encoding artifacts.
-
And almost none of them show you a number (like 320 kbps vs 96 kbps) on the screen.
What actually works is testing once. Take a Reel, run it through two or three serious tools (INDownloader‑style, InstaSaver‑style, AudioDropper‑style), and listen to the difference. Then stay loyal to the one that sounds right.fastvideosave+5
2. “Download the Reel from Instagram itself, then you won’t lose quality.”
Instagram’s own download feature for public Reels is nice but not magic.
-
You get a video file with watermark, username, and usage limits not an MP3.techcrunch+1youtubetimesofindia.indiatimes
-
Some downloaded Reels keep licensed music; others don’t, depending on the track and region.youtubetimesofindia.indiatimes
-
You still need to extract audio in another step, and if that export is sloppy, you’ve gained nothing.
Realistic version:
-
Use native download if you want the video with context.
-
Use an audio‑focused converter if your main goal is preserving sound as cleanly as possible.instasaver+5
3. “Screen record the Reel and convert that it’s fine.”
Screen recording is the cockroach of methods: it survives everything. It always works, but it’s rarely the best for quality.
-
You’re recording whatever your phone is playing, not grabbing the original stream.youtube+1
-
If your volume is off, notifications ding, or your OS compresses the recording, those flaws are baked in.youtubefacebookyoutube
It’s a good backup when converters fail or the Reel is tricky, but if “no extra quality loss” is the goal, going straight from Instagram’s stream to MP3 via a proper downloader is cleaner.speechify+6
4. “If it sounds bad after export, the problem was the converter.”
Sometimes. Not always.
Your editor can absolutely ruin a perfectly fine MP3 if you:
-
Normalize badly or clip audio so it gets crushed.reddit+1
-
Export again at a lower bitrate or weird sample rate.
-
Stack heavy compression/filters on top of already compressed Instagram audio.
The honest approach: test the raw MP3 before editing. If it sounds okay alone but terrible in your final video, the issue is your export settings, not the downloader.descript+3
THE PRACTICAL PART WHAT TO ACTUALLY DO
Here’s a practical, opinionated way to convert Reels to MP3 with minimal extra quality loss.
1. Choose one “high‑quality” converter on purpose
Don’t just grab the first result. Shortlist one tool that clearly cares about quality. Look for:
- Mentions of 320 kbps or “high-quality audio” (INDownloader‑type tools do this).toolzin+4
- “Instagram Audio Downloader / Convert Reels to MP3” in the title, not just generic “video downloader.”reelsaveapp+6
- A clean flow: paste link → click Download → click “Download audio.”reelsave+6
Bookmark it on your phone and laptop. That’s your main pipeline now.
2. Always start from the cleanest Instagram source you can
Better in, better out:
- Prefer Reels where the music is clear and not buried under talking or background noise.
- When possible, copy the link from the audio page (the /reels/audio/... page) instead of a random remix Reel some converters support this and pull cleaner audio directly from that URL.instagram+3
- Avoid converting Reels that already sound bad; no tool can fix that.
3. Copy the link correctly (and only from public content)
In the Instagram app:
- Open the Reel → tap the three dots → “Copy link.”instagram+4
- Make sure the account is public; private Reels can’t be legally or technically fetched by web tools.instagram+1
On desktop, open the Reel on instagram.com and grab the URL from your browser bar.speechify
4. Paste, convert, and sanity‑check the MP3
In your browser:
- Paste the link into your chosen converter’s box.
- Click Download / Convert and wait for the “Download audio/MP3” button to appear.reelsaveapp+7
- Download the file and play it immediately with headphones.
Ask yourself:
- Is it as loud as it felt in the app?
- Is anything obviously muffled, distorted, or full of hiss?
If it sounds noticeably worse, test the same Reel once with a competing tool (like an InstaSaver‑style or AudioDropper‑style site) and keep whichever wins.audiodropper+4
5. Keep your editor from making it worse
When you import that MP3 into CapCut, VN, Premiere, Descript, etc.:
- Avoid re‑exporting as super‑low bitrate MP3 again; export your final video with decent audio settings.youtubefacebook+3
- Don’t push volume into clipping; heavily clipped audio sounds crushed, especially on platforms like Instagram itself.facebook+1
- If you need to EQ or compress, do it lightly you’re already working with compressed social audio, not a studio master.
This is where you keep “no extra loss” honest.
6. Use screen recording only as a backup
If a Reel refuses to convert but sounds fine in the app:
- Use your phone’s screen recorder with internal audio on.youtube+1
- Play the Reel or audio page, then stop recording and save the file.
- Extract MP3 from that recording using a video‑to‑audio converter or editor.descriptyoutubespeechify
It’s not the purest method, but it’s better than giving up and still better than that one cursed converter that gives you silence.
7. Be realistic about “no quality loss” vs “good enough”
Remember:
- Instagram already compressed the sound. You’re trying not to ruin it further.
- For Reels, Shorts, TikToks, and ringtones, a well‑handled MP3 from a decent converter is usually more than enough.fastvideosave+5
- If your project genuinely needs pristine audio, you probably shouldn’t be ripping it from a Reel in the first place.
Knowing where you’re allowed to lower your standards a bit will save you a lot of stress.
QUESTIONS PEOPLE ACTUALLY ASK
How do I convert Instagram reels to MP3 without losing sound quality?
Use a converter that focuses on audio quality, not just “any MP3.” Copy the Reel link from Instagram, then paste it into a high‑quality Instagram audio downloader like the INDownloader / InstaSaver / AudioDropper type tools that mention 320 kbps or “high quality” output. Download the MP3 and play it immediately to check that the volume and clarity match the Reel. If it sounds bad, test the same link with a different serious tool and stick with the better one.youaudiodown+5
Why does my reels to MP3 download sound worse than the original?
Because your audio is being compressed twice: once by Instagram, then again by the converter, often at a lower bitrate. Some tools also grab lower‑quality streams or encode aggressively to save bandwidth, which makes files sound quieter or muddy. Switching to a converter that advertises high‑quality MP3 and testing outputs side by side usually fixes the issue.instasaver+5
Which tool is best for high‑quality reels to MP3?
Look for tools that clearly brand themselves as “Instagram audio downloader / convert Instagram to MP3” and mention high bitrate or “no quality loss,” like the INDownloader, InstaSaver, AudioDropper, or similar sites. They all use the same basic copy‑paste‑download flow, but some do a better job preserving loudness and clarity. The best way is to test 2–3 tools with the same Reel and keep the one that sounds closest to the original.reelsave+7
Does Instagram’s own download reels feature keep better audio quality?
Instagram’s download feature for public Reels is mainly about video: it saves the Reel with watermark, username, and audio attribution to your device. Audio quality is generally fine for casual viewing but it’s not delivered as a separate MP3, and not every track is downloadable depending on music licensing. If you need clean, reusable audio, you’ll still need to extract it or use a dedicated audio downloader.business-standardyoutubetimesofindia.indiatimesyoutubetechcrunch
Is screen recording a bad way to get reels audio?
It’s not bad, it’s just less clean. Screen recording captures whatever your phone is playing, which means any OS compression, notification sounds, or volume issues are baked into the file. It’s a great fallback when downloaders fail, but not the first choice if you’re chasing the best possible sound. Direct conversion from Instagram to MP3 via a good audio downloader usually keeps more of the original quality.youtubefacebookyoutubespeechify+6
Can I get 320 kbps MP3 from Instagram reels?
Some converters, like INDownloader’s audio tool, claim to offer up to 320 kbps MP3 output. That’s about as high as you can reasonably go given Instagram’s own compression. Remember, though, that a 320 kbps file doesn’t magically restore quality that was never there it just avoids making it worse during the conversion. It’s a good ceiling to aim for if you’re going to manipulate the audio further in editing.reddit+2
How do I keep sound quality when editing reels audio after download?
Start from the best MP3 you can get, then avoid wrecking it in your editor. Use decent export settings, don’t crush your audio with clipping, and avoid exporting again at very low bitrates. If you’re mixing multiple sources, normalize levels carefully instead of just boosting everything to 100. Treat your Reels MP3 like a delicate second‑generation copy, not a studio master.youtubefacebook+3
Do these methods work the same on Android, iPhone, and PC?
Yes. The main difference is where you copy the link and where the file goes. On Android and iPhone, you copy the Reel link inside the Instagram app and paste it into a converter site in your browser, then save the MP3 to Downloads or Files. On PC, you copy the URL from instagram.com and paste it into the same sites, then drag the MP3 straight into your editing software. The quality logic is identical on every device.descript+5
SO WHERE DOES THIS LEAVE YOU
So now the illusion is gone: there is no magic button that beams you a studio‑grade WAV from a Reel. Instagram compresses first; your tools either respect what’s left or kick it while it’s down.
What you can control is everything after the scroll. You can choose a converter that doesn’t murder your audio, check the MP3 before trusting it, and stop your editor from applying a third round of punishment in the export. You can also be honest with yourself: for Reels, Shorts, and ringtones, “no extra obvious loss” is usually enough.facebook+8
If you do one concrete thing today, take a Reel you already know by heart, run its link through two different Instagram audio downloaders, and listen to both files in real headphones. Keep the tool that sounds right and bookmark it. That’s your new default, and it turns “ugh, why is this MP3 trash” into a 30‑second habit instead of a weekly surprise.
It’s not perfect. But it’s predictable. And when you’re dealing with social platforms, predictability is a luxury.
You made it to the end, which means you care about sound more than Instagram does. Fair. You’ve seen why some conversions sound thin, why others hold up in a real timeline, and how much of “quality” comes down to a couple of boring choices instead of secret tricks.
Next time that one Reel audio won’t leave your head, you won’t be stuck yelling at some random converter or blaming your phone. You’ll know where to paste, what to expect, and how not to destroy the track in export.
Two people know this is messier than the tutorials pretend: you, and whoever wrote this. That’s enough.